discription: How to effectively setup Immich using Portainer and Docker-compose. I will then go over how to setup a user account for someone else and import photos that have already been uploaded to my server.
Prerequisites
Before completing this guide, you must make sure you have docker installed and running an instance of portainer as that is where we will be configuring everything using docker-compose. If you don’t have them installed and running, see the below links first and then come back here after your done.
Make sure you have some folders created for your library of photos before you try running your container, we’ll be mapping our container to them during the setup.
Installation
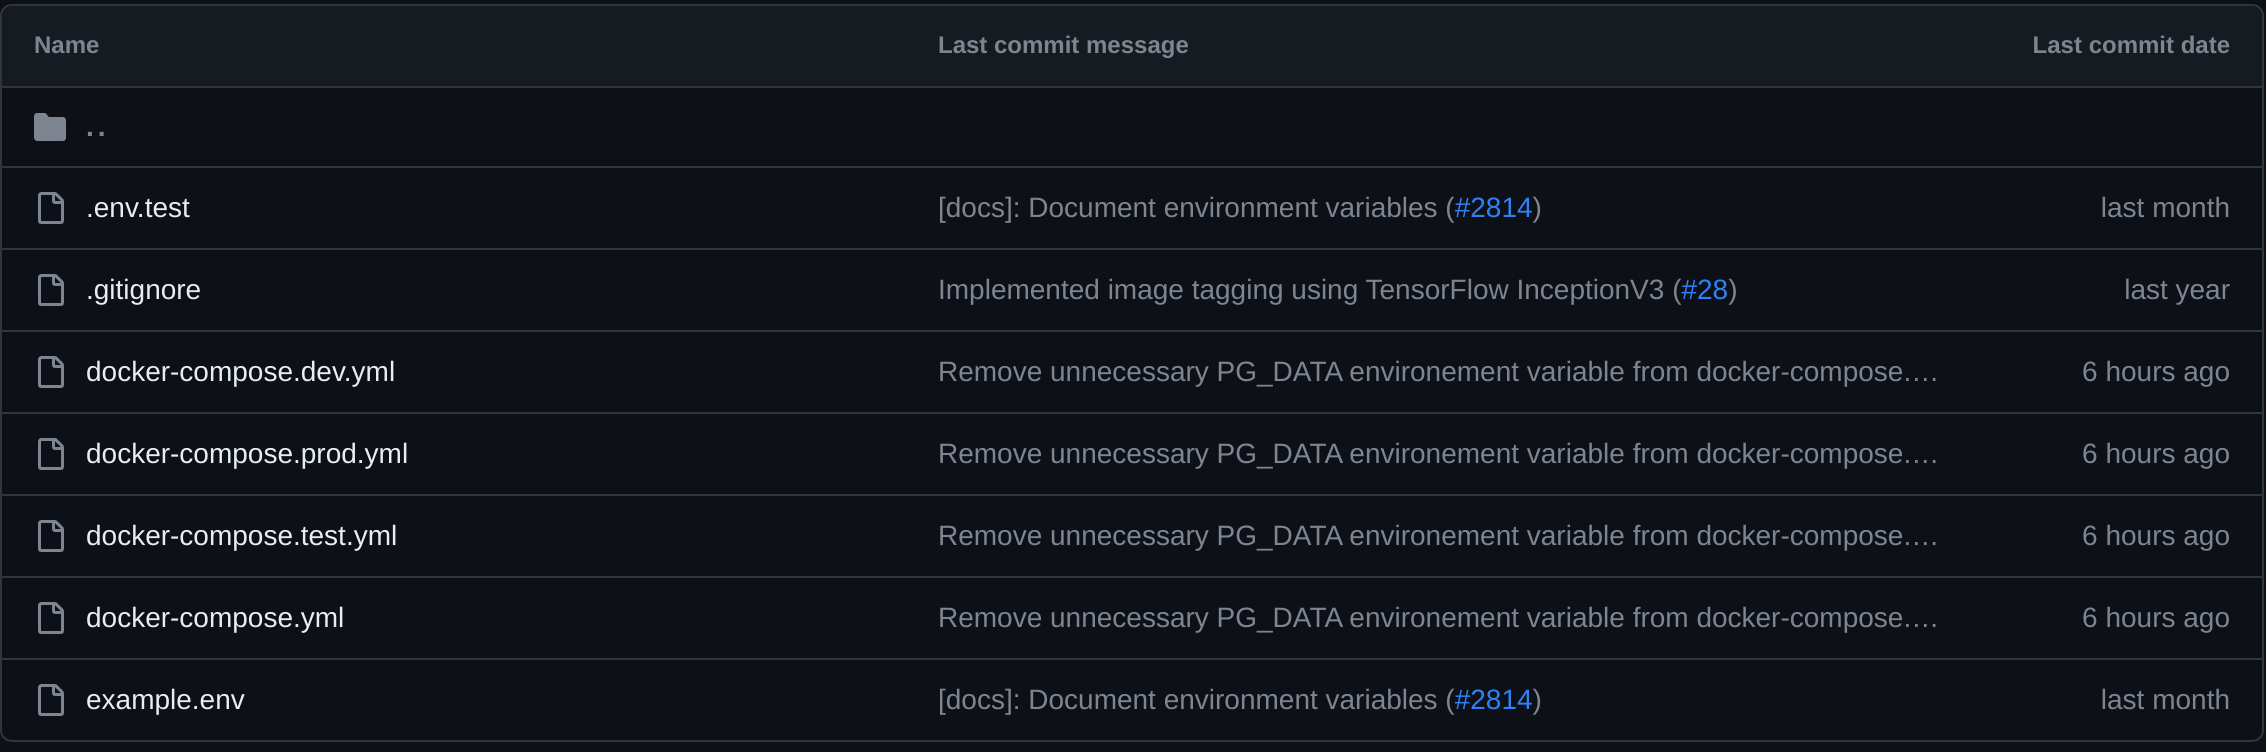
First things first, head over to this github repo and navigate to the docker folder
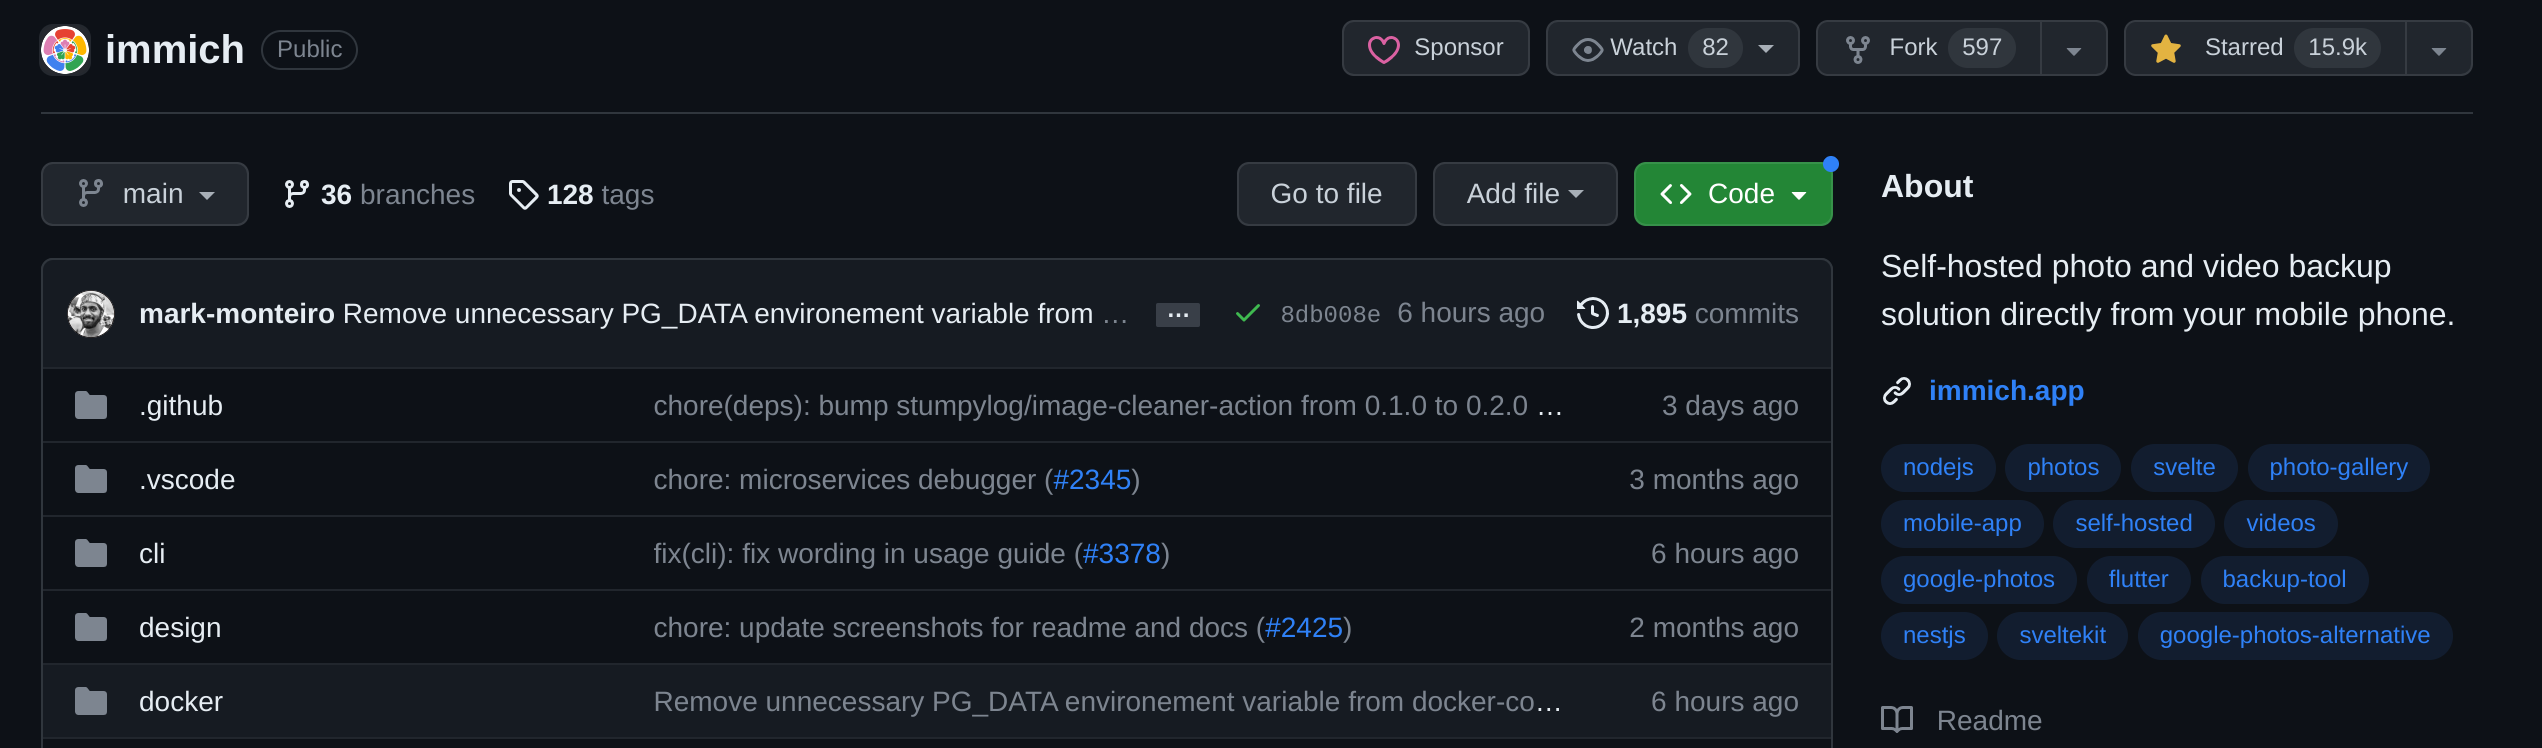
Then copy the docker-compose.yml and the example.env file and save them somewhere safe to edit them.
Once you coppied those two files, we’ll need to edit the example.env file. Inside this file we have a few variables to change and edit:
DB_HOSTNAME=immich_postgres
DB_USERNAME=postgres
DB_PASSWORD=postgres
DB_DATABASE_NAME=immich
REDIS_HOSTNAME=immich_redis
UPLOAD_LOCATION=absolute_location_on_your_machine_where_you_want_to_store_the_backup
TYPESENSE_API_KEY=some-random-text
PUBLIC_LOGIN_PAGE_MESSAGE=
IMMICH_WEB_URL=http://immich-web:3000
IMMICH_SERVER_URL=http://immich-server:3001
IMMICH_MACHINE_LEARNING_URL=http://immich-machine-learning:3003
Not a whole lot has to be changed here, however I would suggest changing DB_USERNAME, DB_PASSWORD if you want to keep this in production for a while, otherwise, just change these:
UPLOAD_LOCATION= - This should get changed to that folder I had you create earlier, for me this line looks like UPLOAD_LOCATION=/NVMe-Pool/Photo-Storage however this can be anything as it will be bound to the containers upload folder.
TYPESENSE_API_KEY= - This key can be whatever you like, as long as its long and secure. I generated one using my password manager, you could also use ssh-keygen from your terminal as well.
PUBLIC_LOGIN_PAGE_MESSAGE= - If your feeling nice, you can set a little message that pops up when someone logs in properly.
Once you have finished editing that file, save it with the name .env anywhere you want.
For the docker-compose file, we will need to make one small change:
    env_file:
      - .env
Look for anywhere in the compose file where it says the above and edit it so it looks like this:
    env_file:
      - stack.env
This allows us to use portainer and our .env file.
Next, navigate over to your portainer website inside of your preferred browser, ill be using brave for my demo:
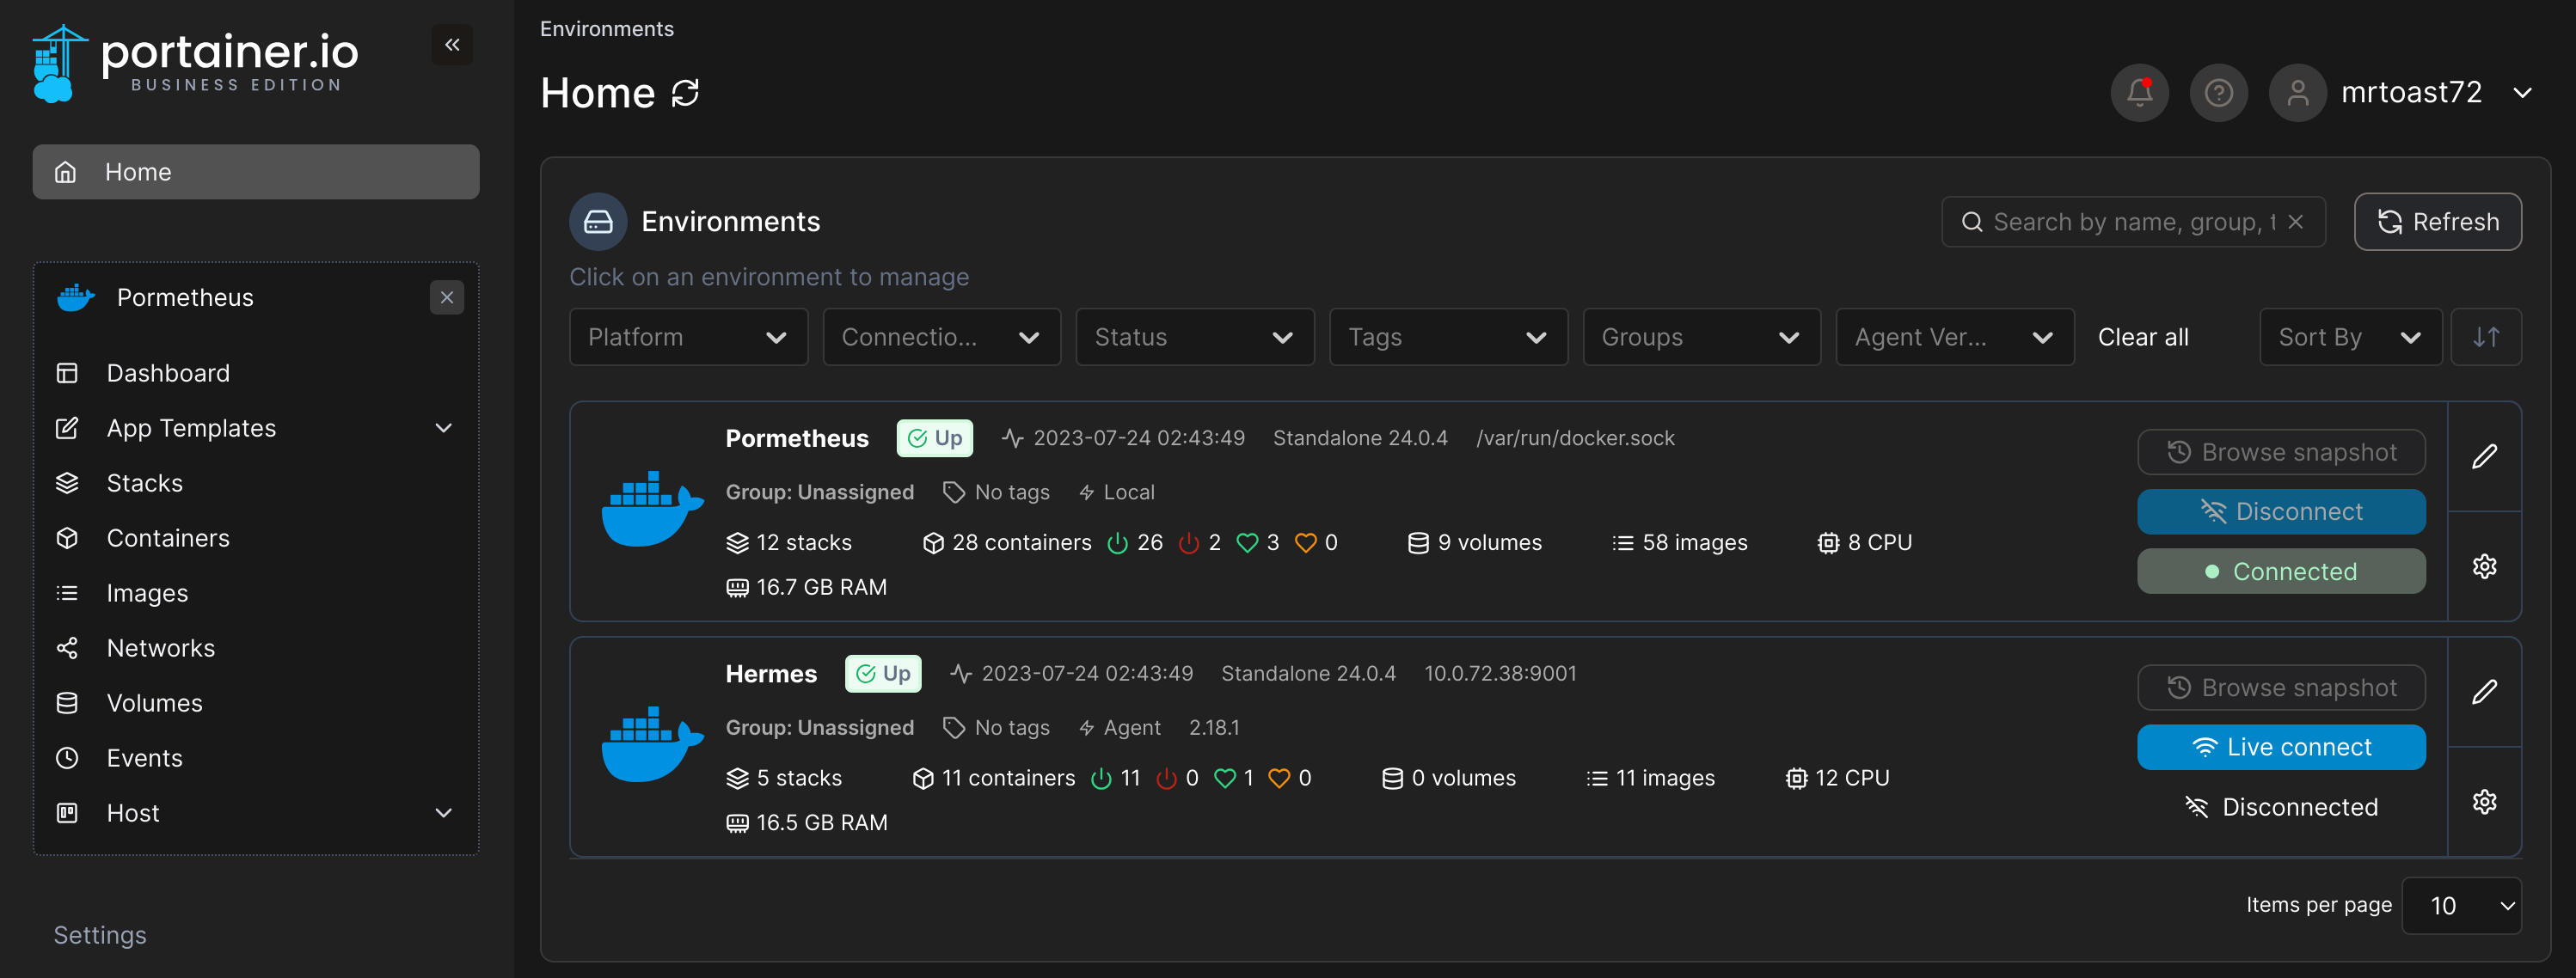
Select your Environment (for most there will only be one to select from), i’m going to use Prometheus to host immich.
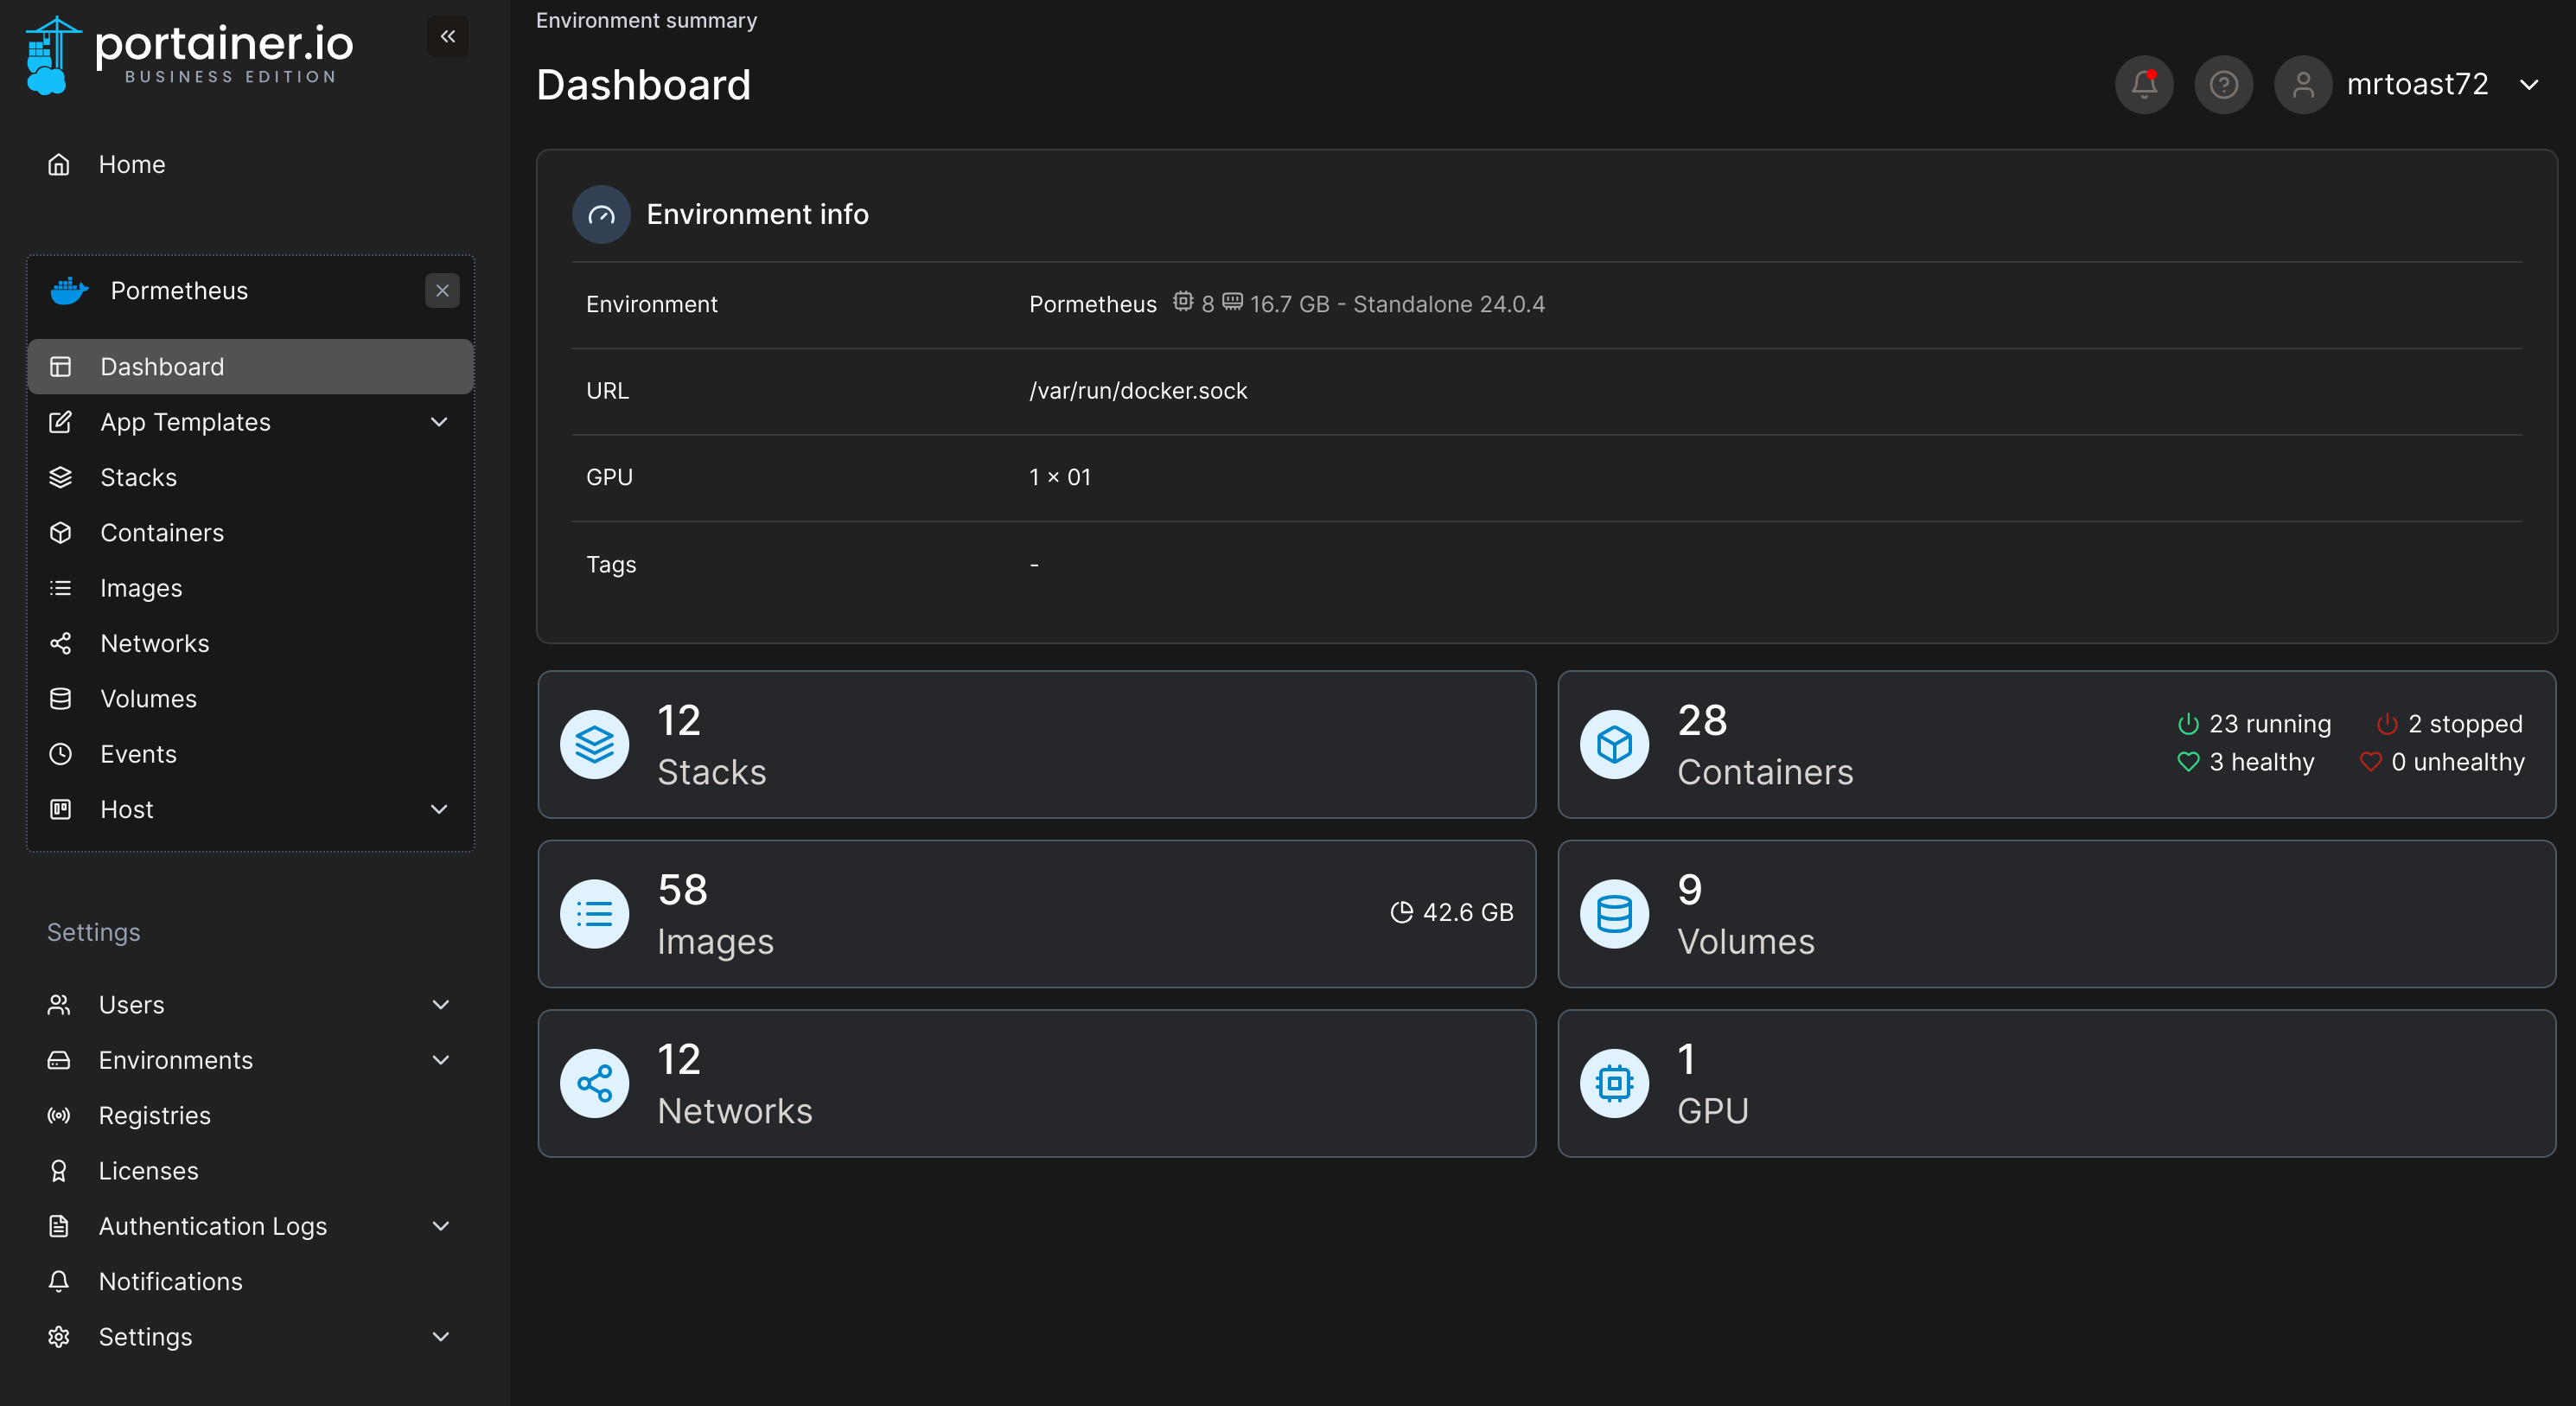
Next Navigate over to the stacks section.

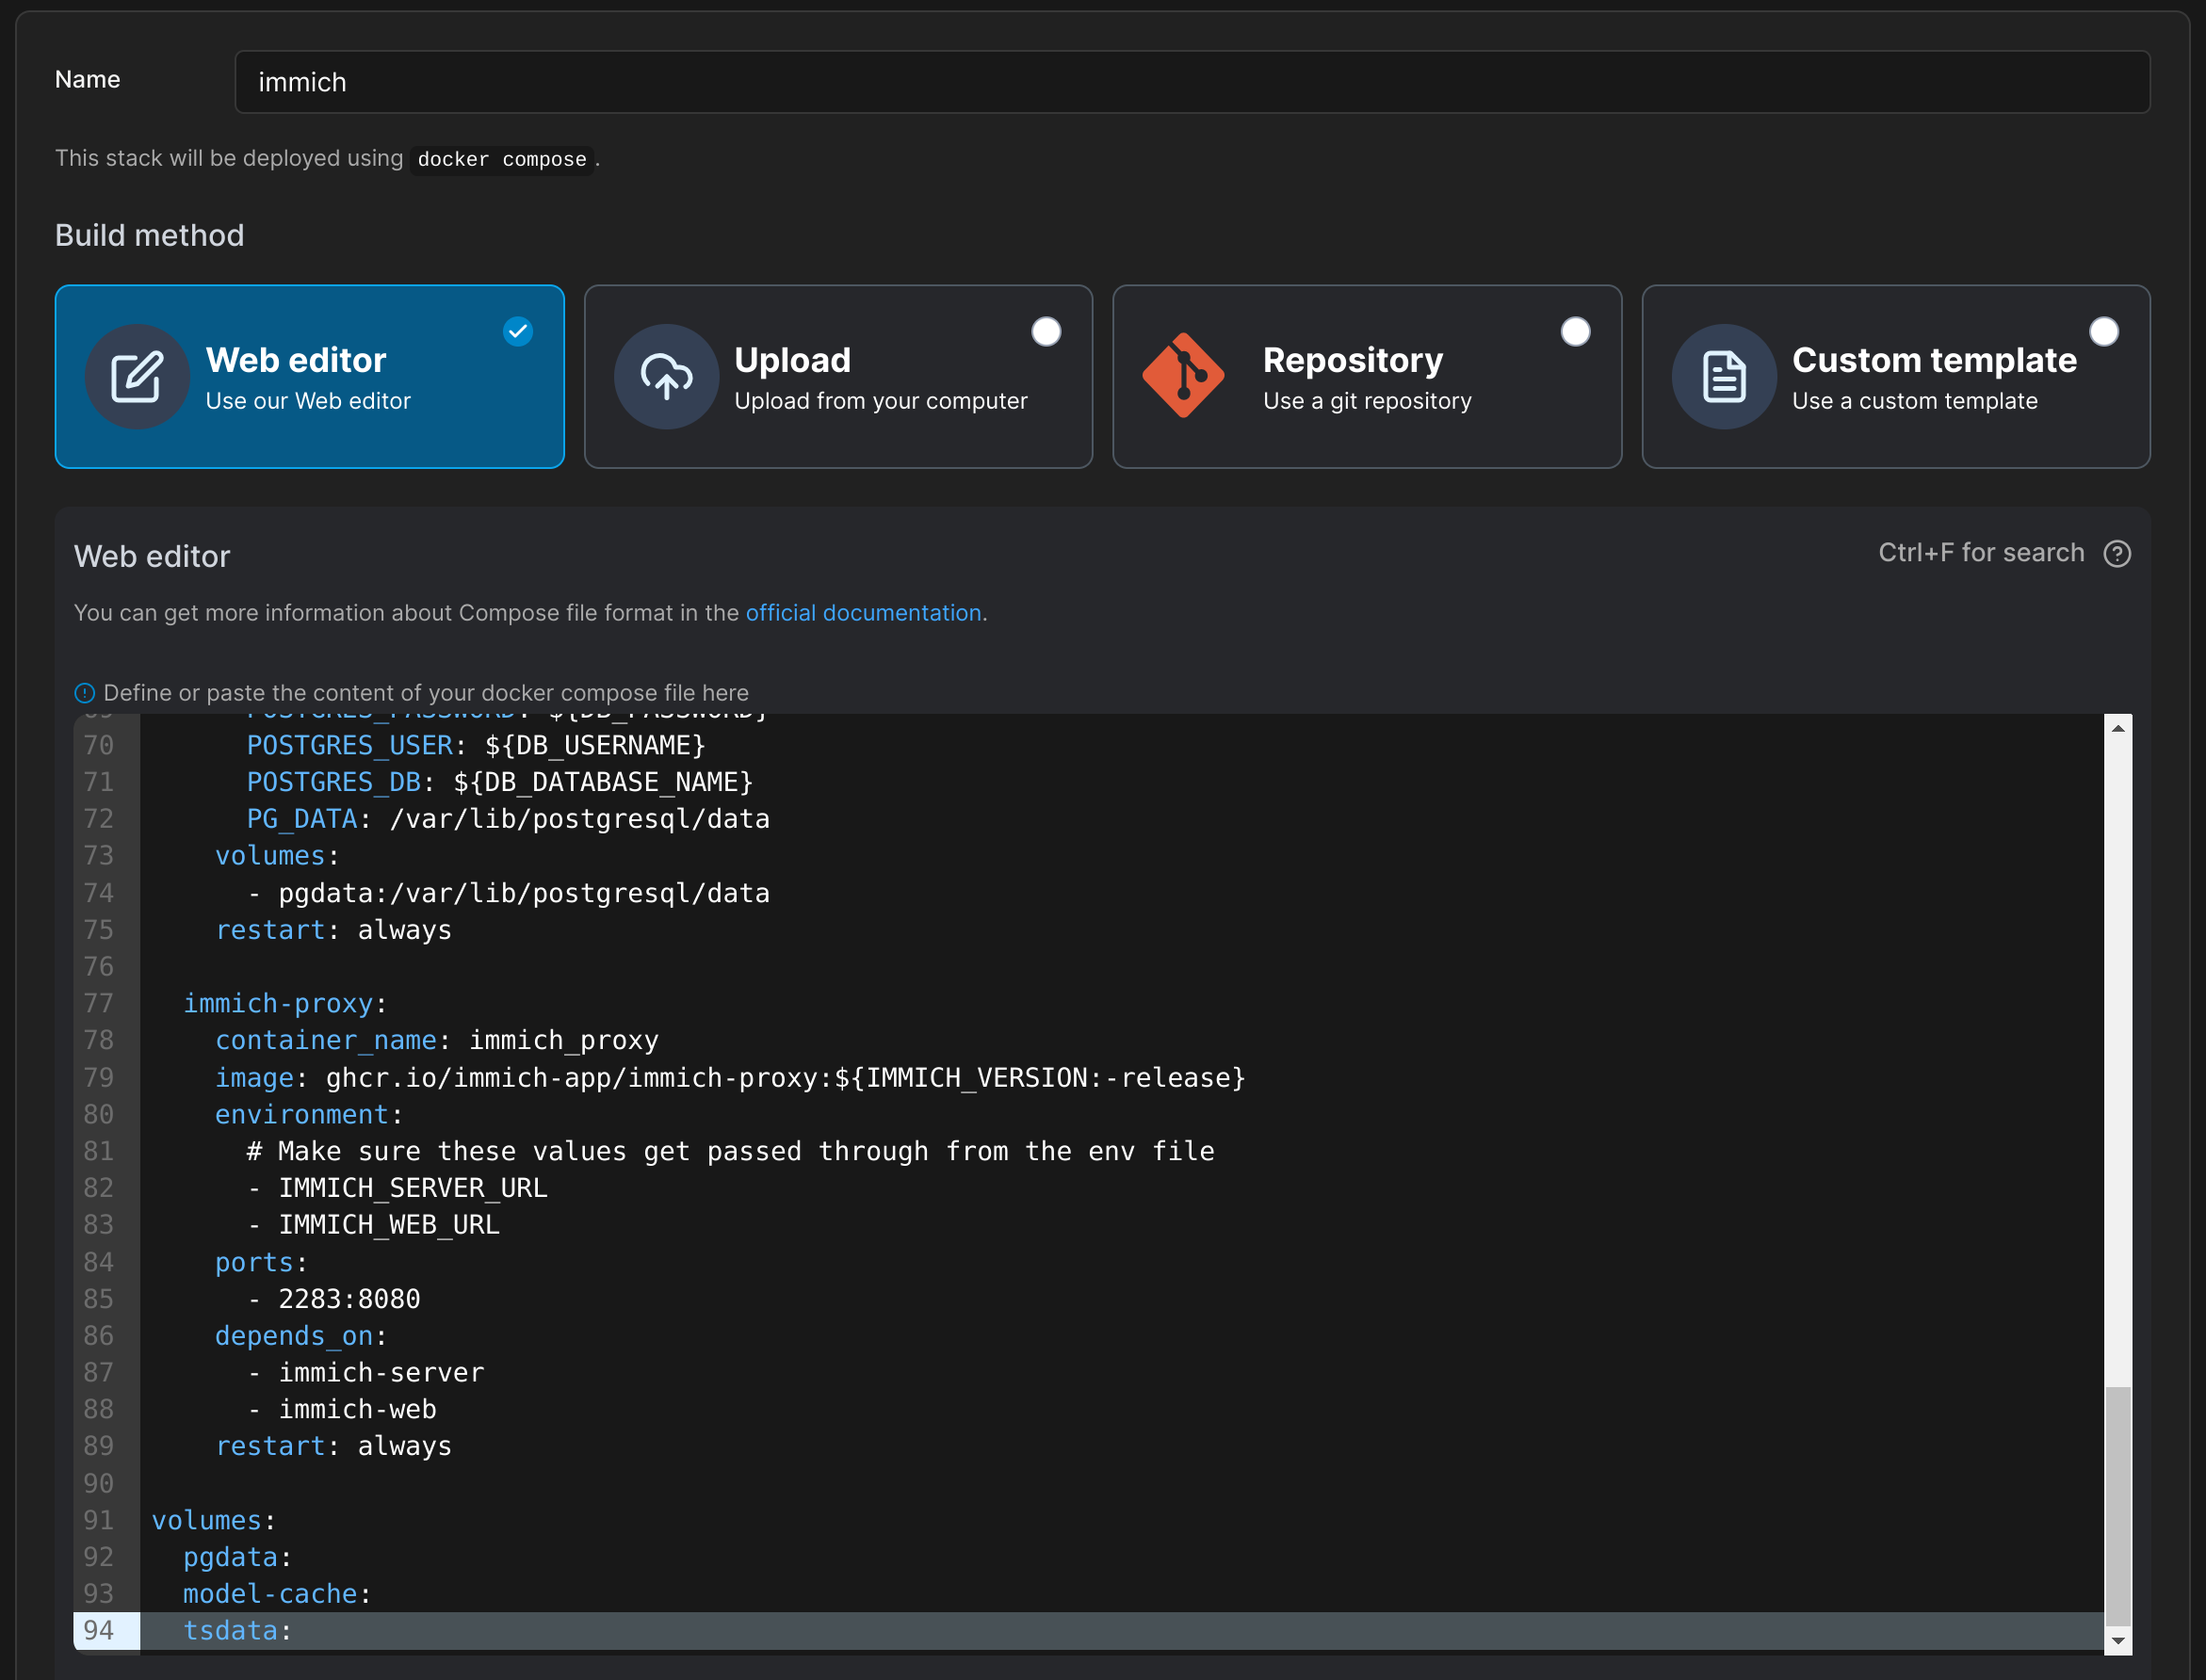
Click on the + Add stack button on the right, give your stack a name and paste in the docker-compose.yml into the editor you saved from ealier:
After that, scroll down past the web editor you just pasted into until you see the Environment variables section. Click the button that says “Load variables from .env file” and select the file I had you save earlier like so:
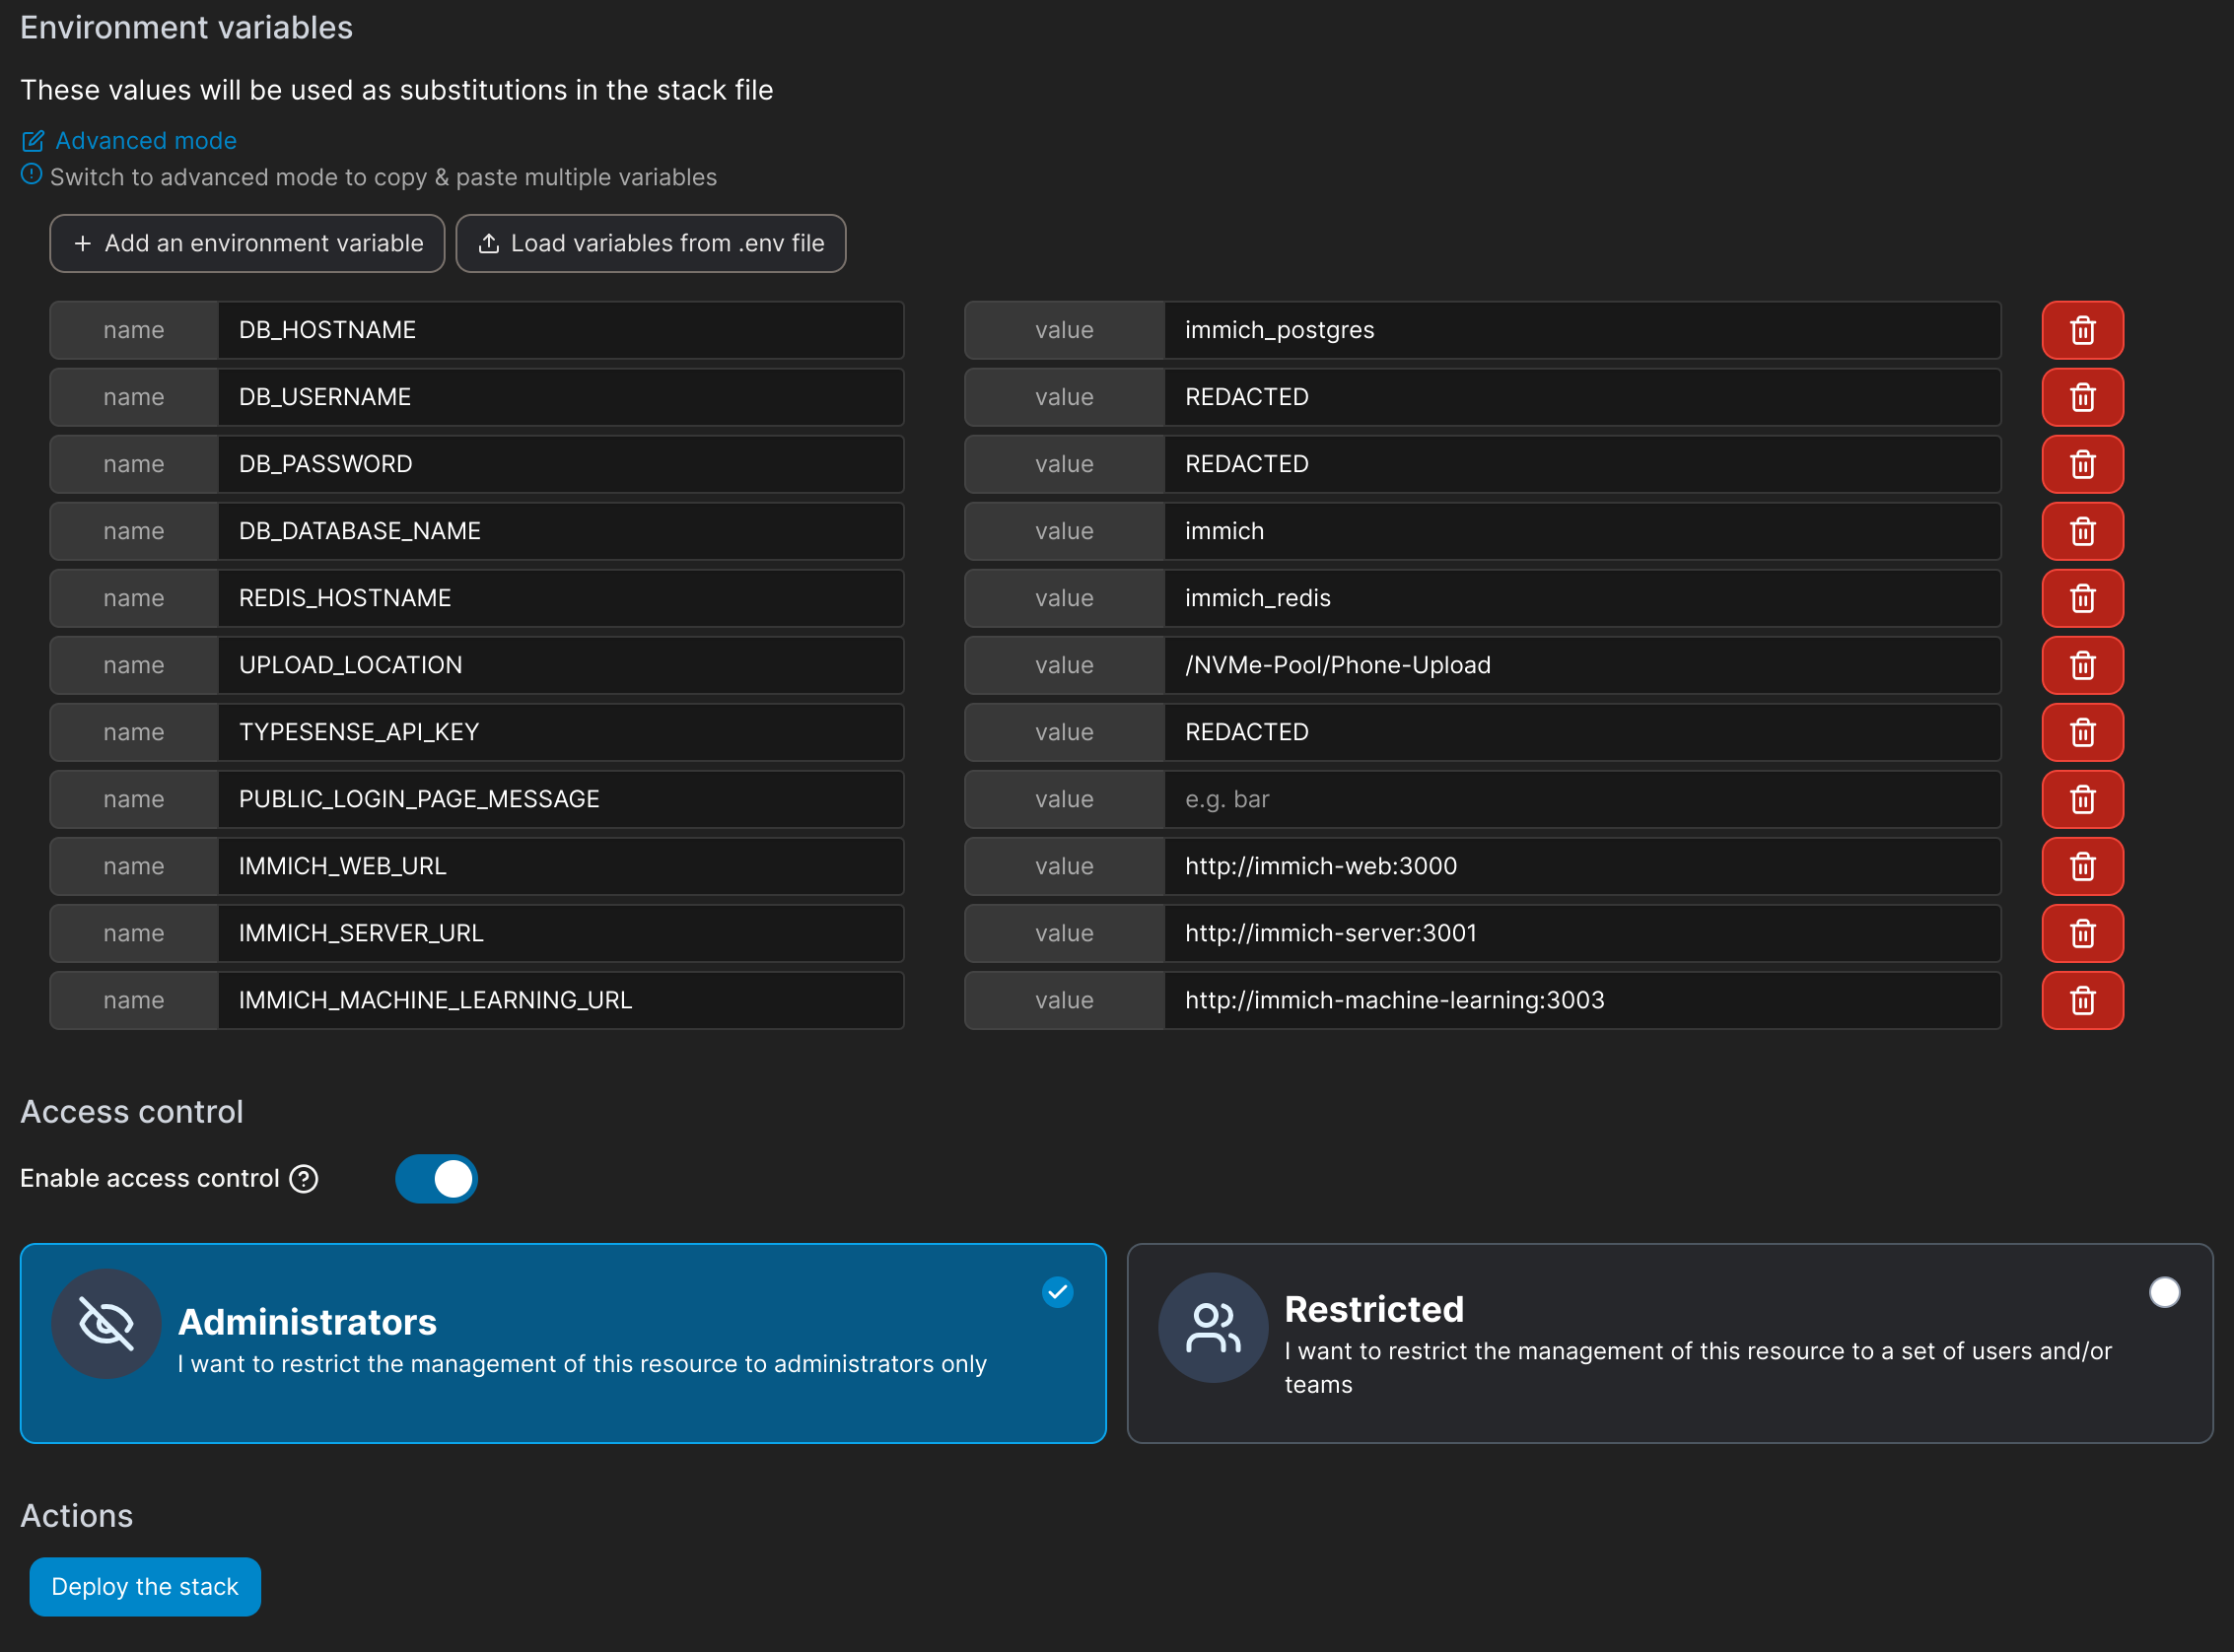
Make sure all of your variable values are right, and if they are, click “Deploy the stack” button.
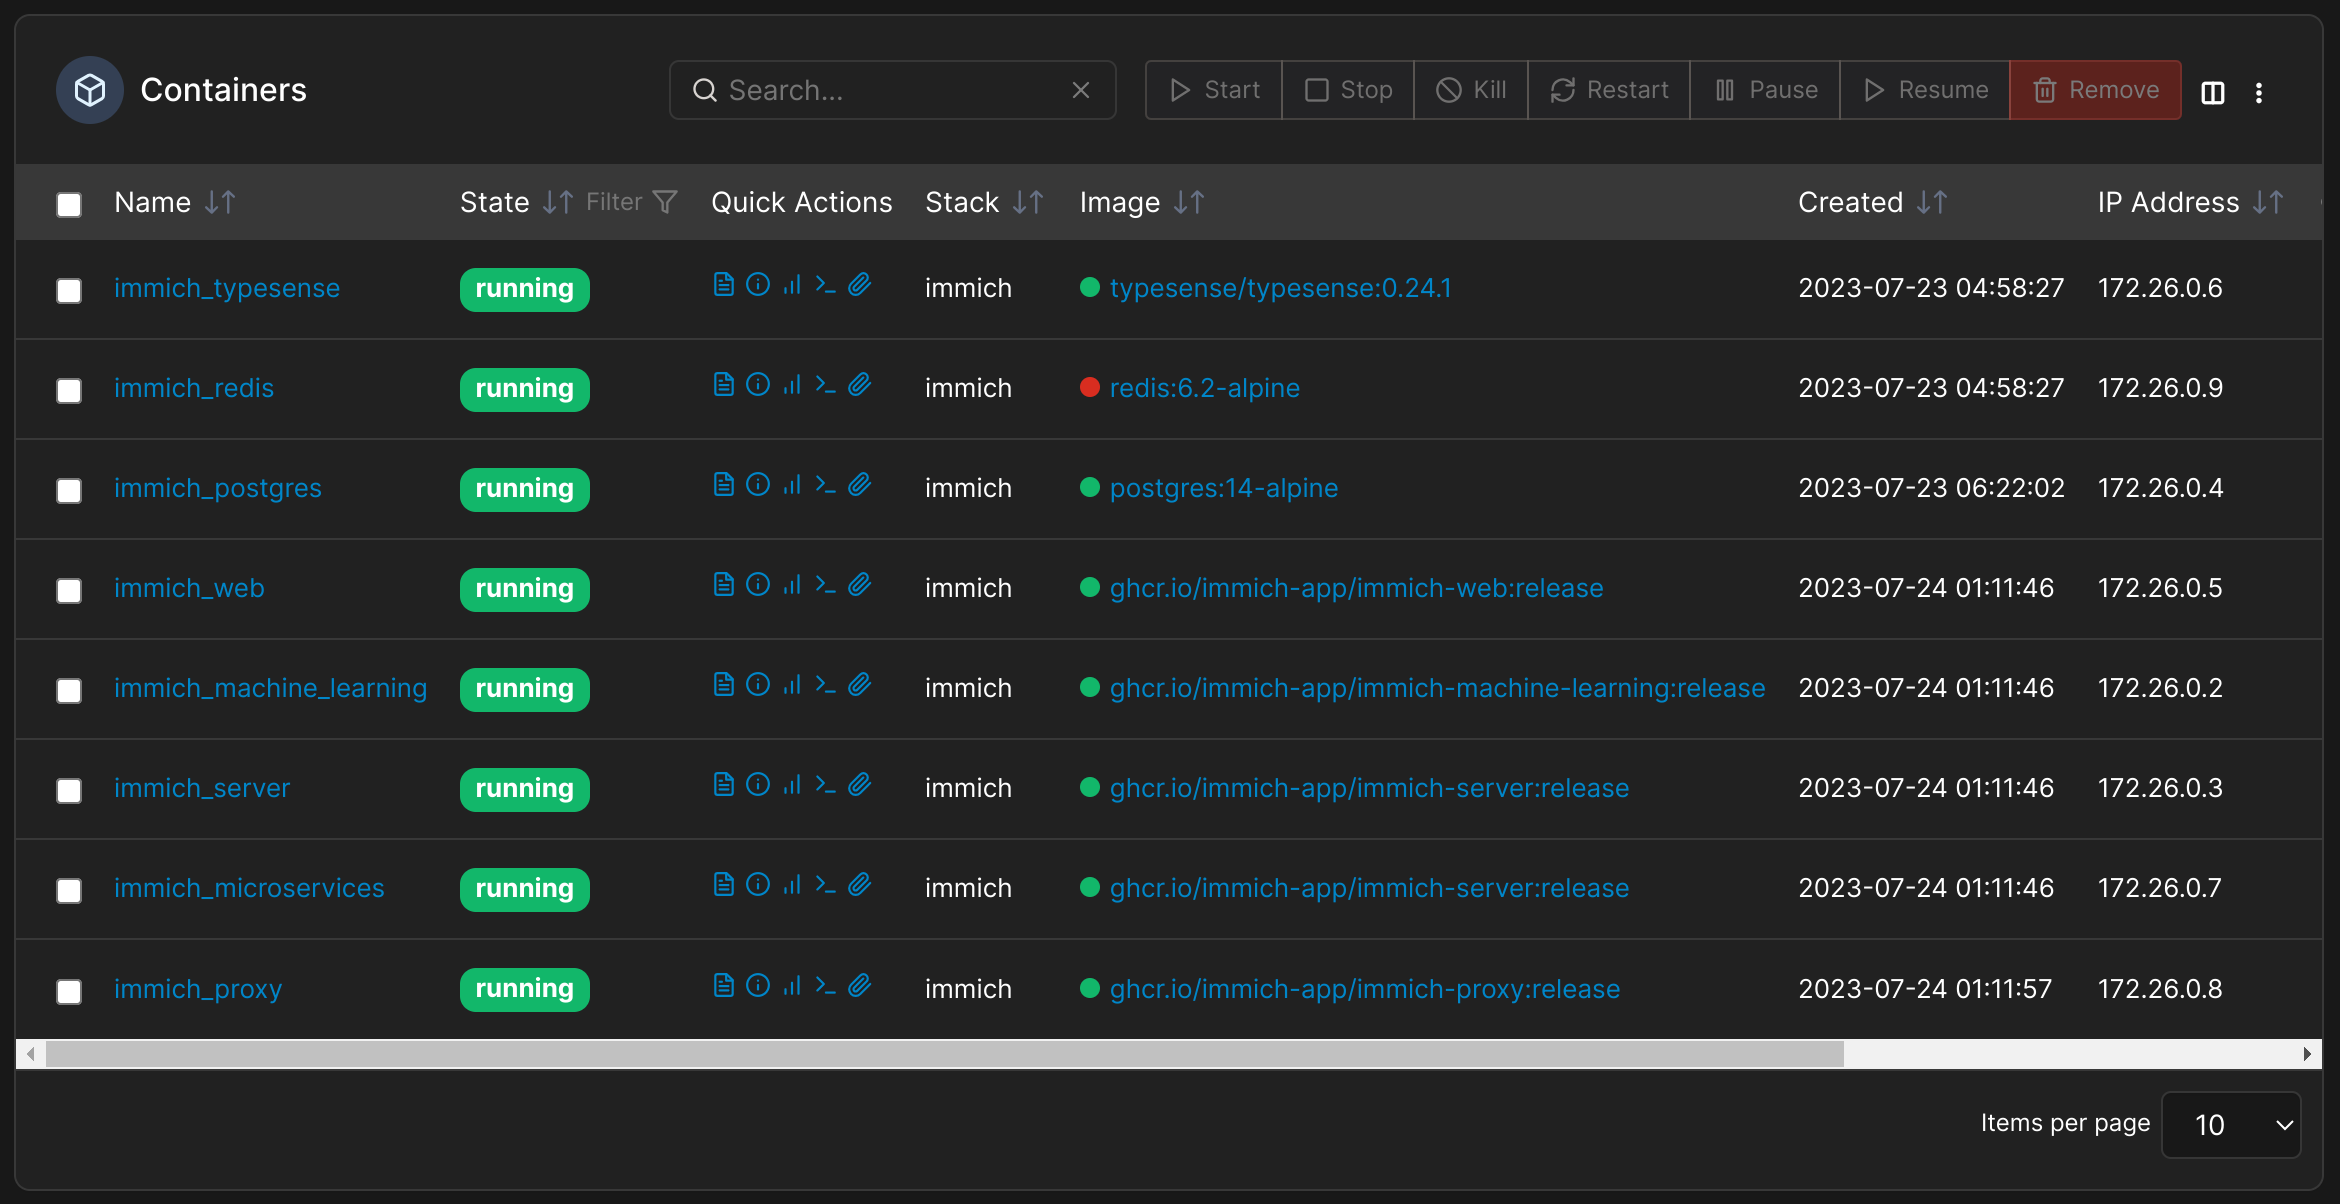
Once that’s done, you should see around 8 containers all running. Now depending if you are running docker on the machine your testing this from, you could access immich from http://localhost:2283/ otherwise, replace localhost with the ip address of the machine running immich.
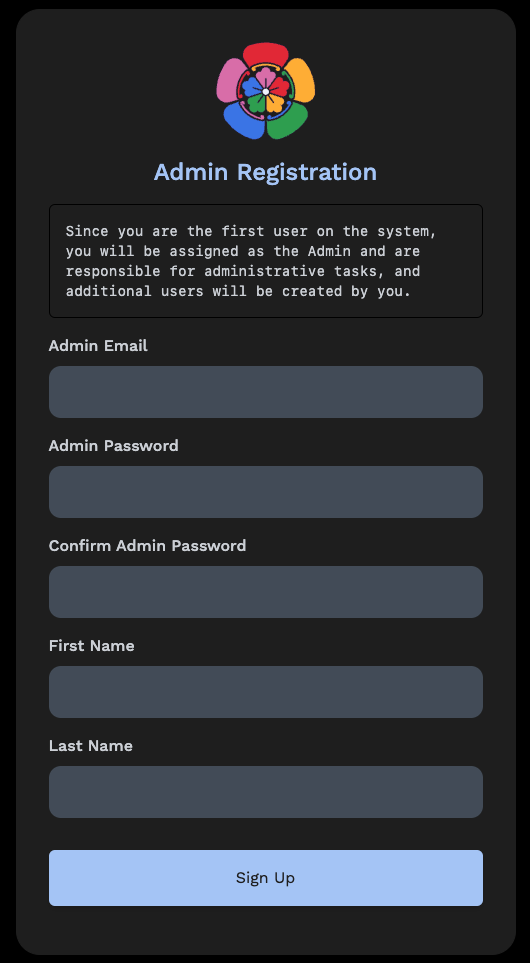
Seeing as this is the first time the machine has been run, when you navigate to the landing page, it will get you to create an admin account to create other users and perform administration tasks and jobs. Simply fill out your email and password you would like to use as well as your first and last name. Once complete, login with the same credentials.
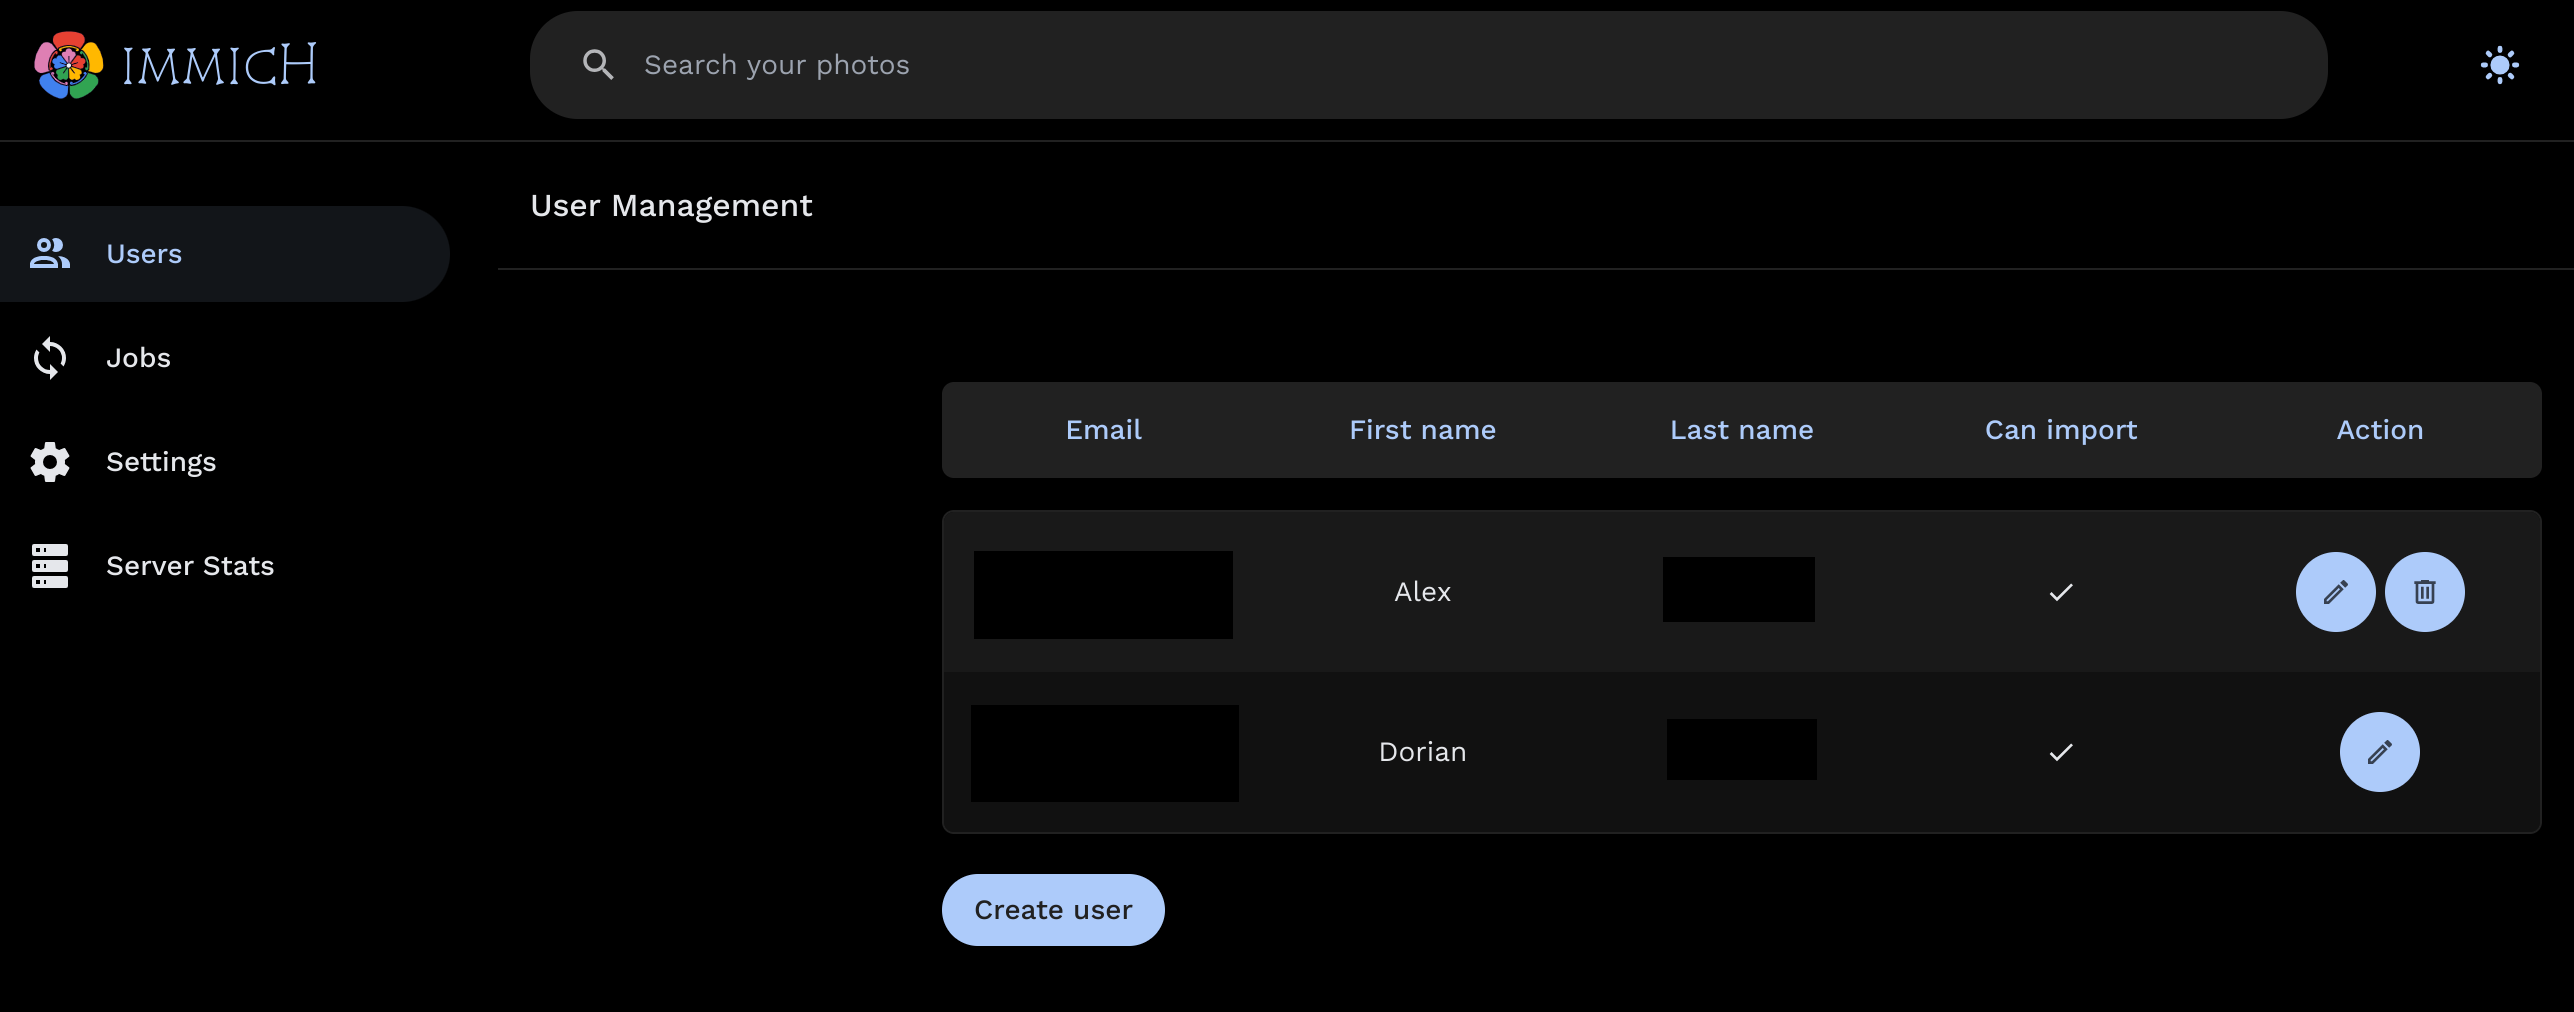
Seeing as I already did this once for my self, I’ll be using Alex for this demo. Once you have created a user, you’ll need to login to that users account, and set a new password for them. After your logged in, navigate to the top right hand corner where your user icon is, and click account settings.
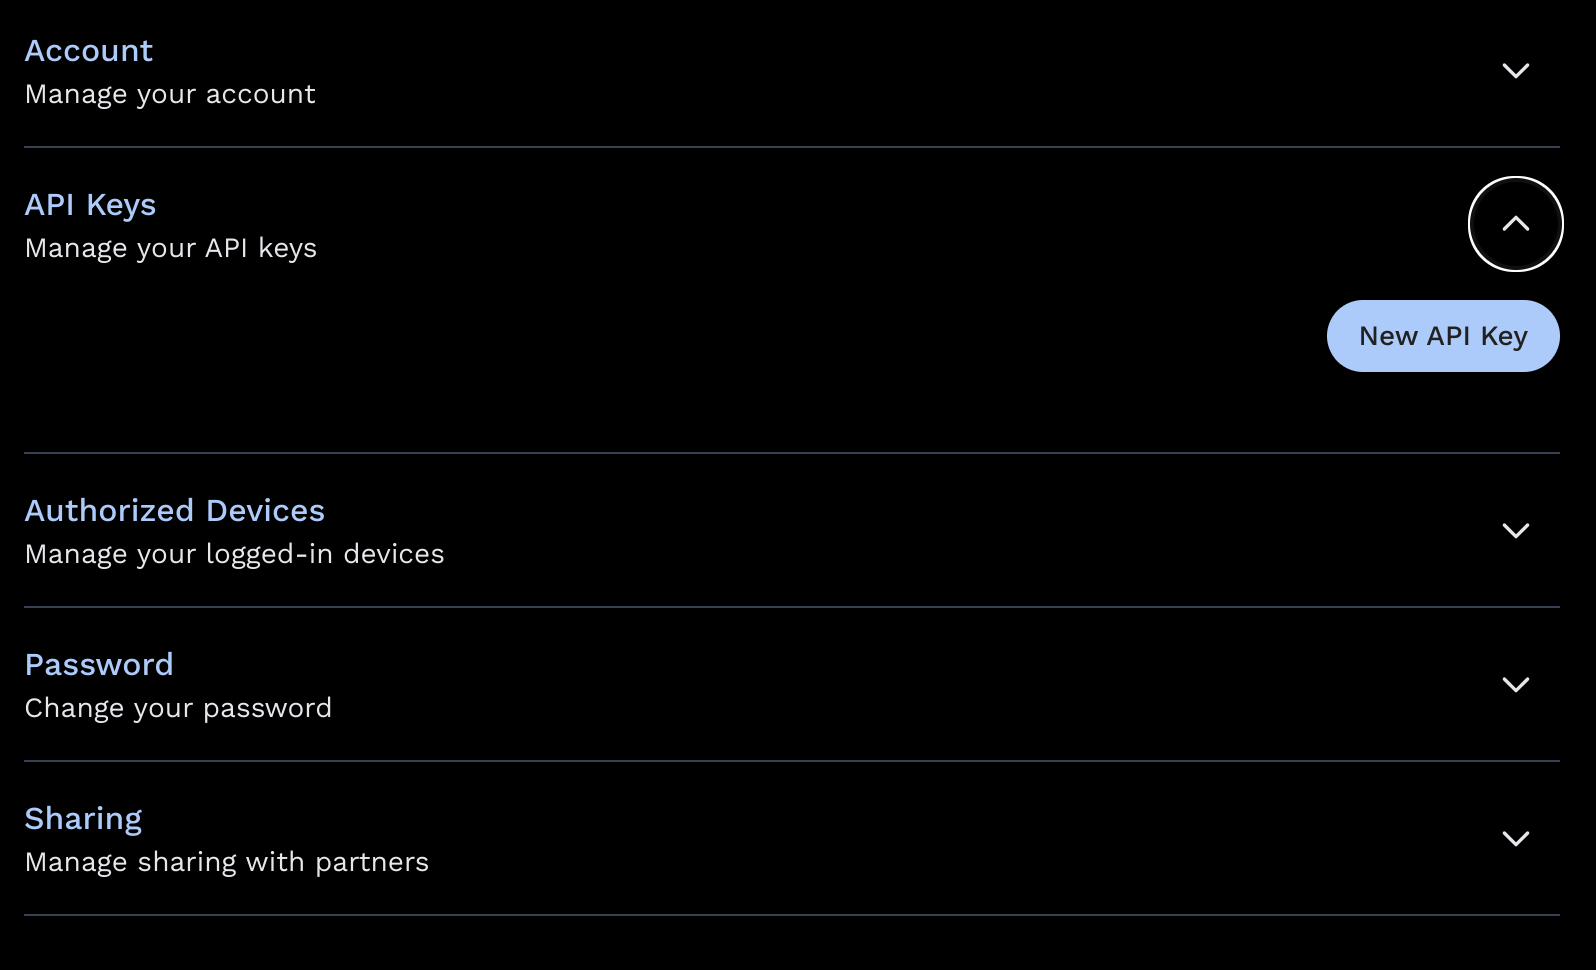
There, you will see a few different drop downs, one of them being API Keys, which we need to create a new one. Go ahead and click the “New API Key” button to generate a new key.
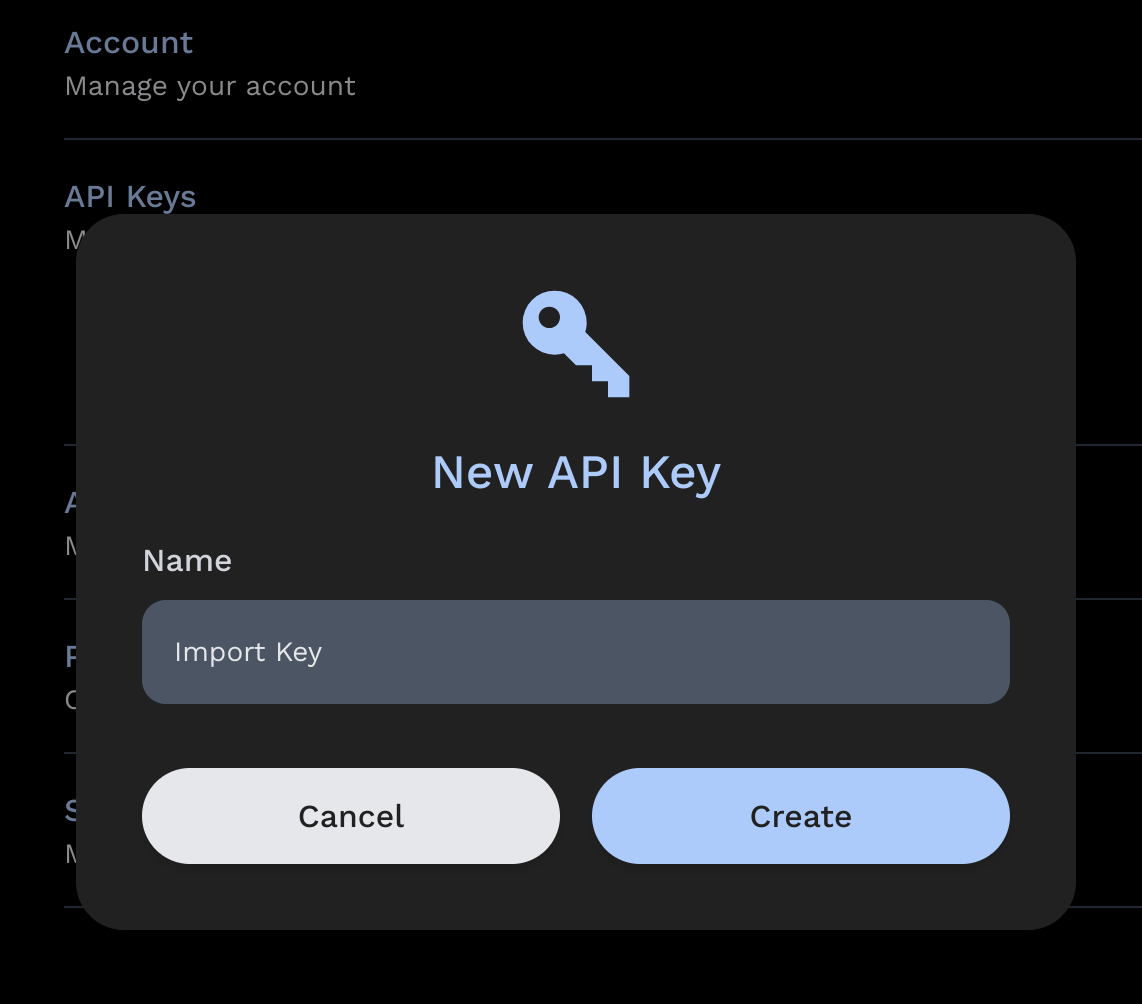
I’m naming my key “Import Key” for this demo, after naming your key go ahead and press “Create” to receive your newly generated key. Make sure to store a copy somewhere as you will only get to see it once.
Importing-Previous-Data
Now that you have your API key, we can begin importing any photos you had stored previously. To start,
- Open up a terminal or command prompt window on the machine running immich,
- then navigate to the folder containing all your photos you want to upload to immich, for me it looked like this:
cd /NVMe-Pool/Photo-Storage/Cloud-PhotosDon’t worry if your folder contains folders inside of it like years or months, our import command will help with that.
After navigating to our folder we want to upload you will want to edit this command for your setup:
sudo docker run -it --rm -v "$(pwd):/import" ghcr.io/immich-app/immich-cli:latest upload --key <your-api-key-here> --server http://localhost:2283/api --recursive
docker run -it --rm - Runs a container interactively and then removes the container once its stopped.
-v "$(pwd):/import" - Sets the working directory.
ghcr.io/immich-app/immich-cli:latest - Container running the CLI were using to import.
upload --key <key> - Passed to the container running the cli to initiate an upload using our key. (Key does not need <>)
server http://localhost:2283/api - Passes our server address as the next variable.
--recursive - Lastly this makes sure that if you have a bunch of folders inside of the folder your trying to upload, it does so recursively.
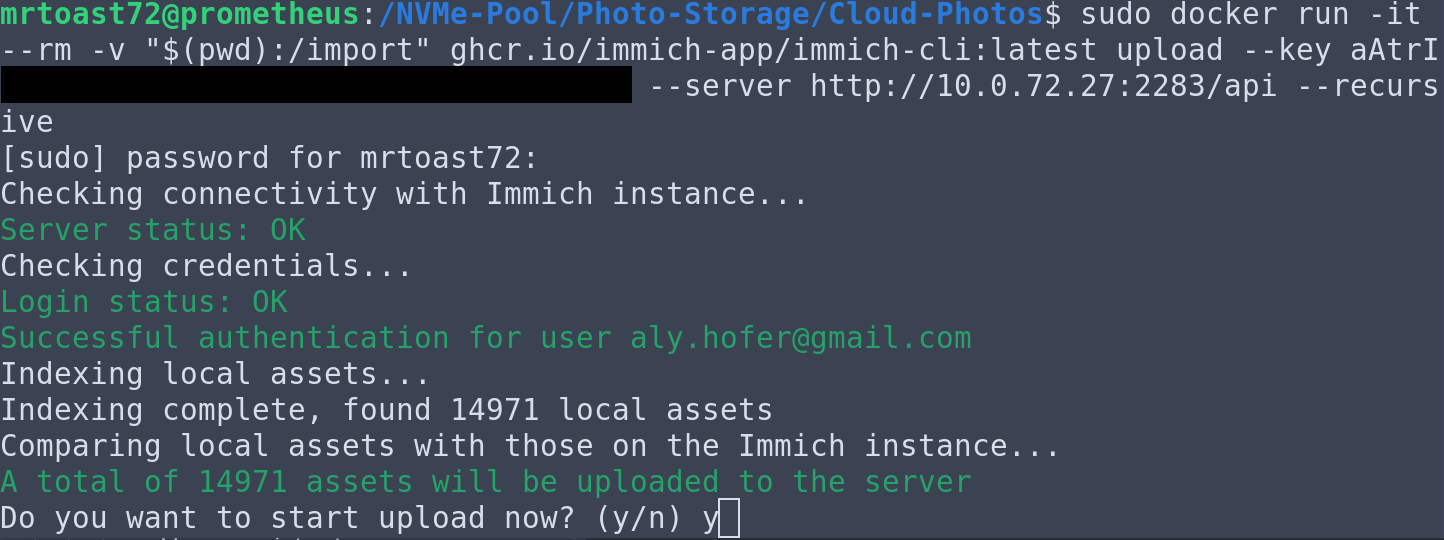
After typing in the above command, the script will scan that directory and let you know how many assets there are. Verify that this is roughly the amount that should be uploaded, and if so, enter Lowercase y, uppercase for some reason does not work and ends up freezing your terminal.
Wrap-up
It shouldn’t take to long for your upload to complete, my demo of almost 15k photos took about 20 minutes to upload into the database. Keep in mind, this copies all the photos from the folder you were in, into the folder immich uses for storage.
Once that completes, head over to your immich webpage and log back into your admin account your first craeted. After logging in, navigate to administration in the top right hand corner, and then jobs on the left side panel.
From there, you will see your server generating photos, extracting metadata and more. If you don’t for some reason see them working away, go ahead and click sync beside each one of the workers.